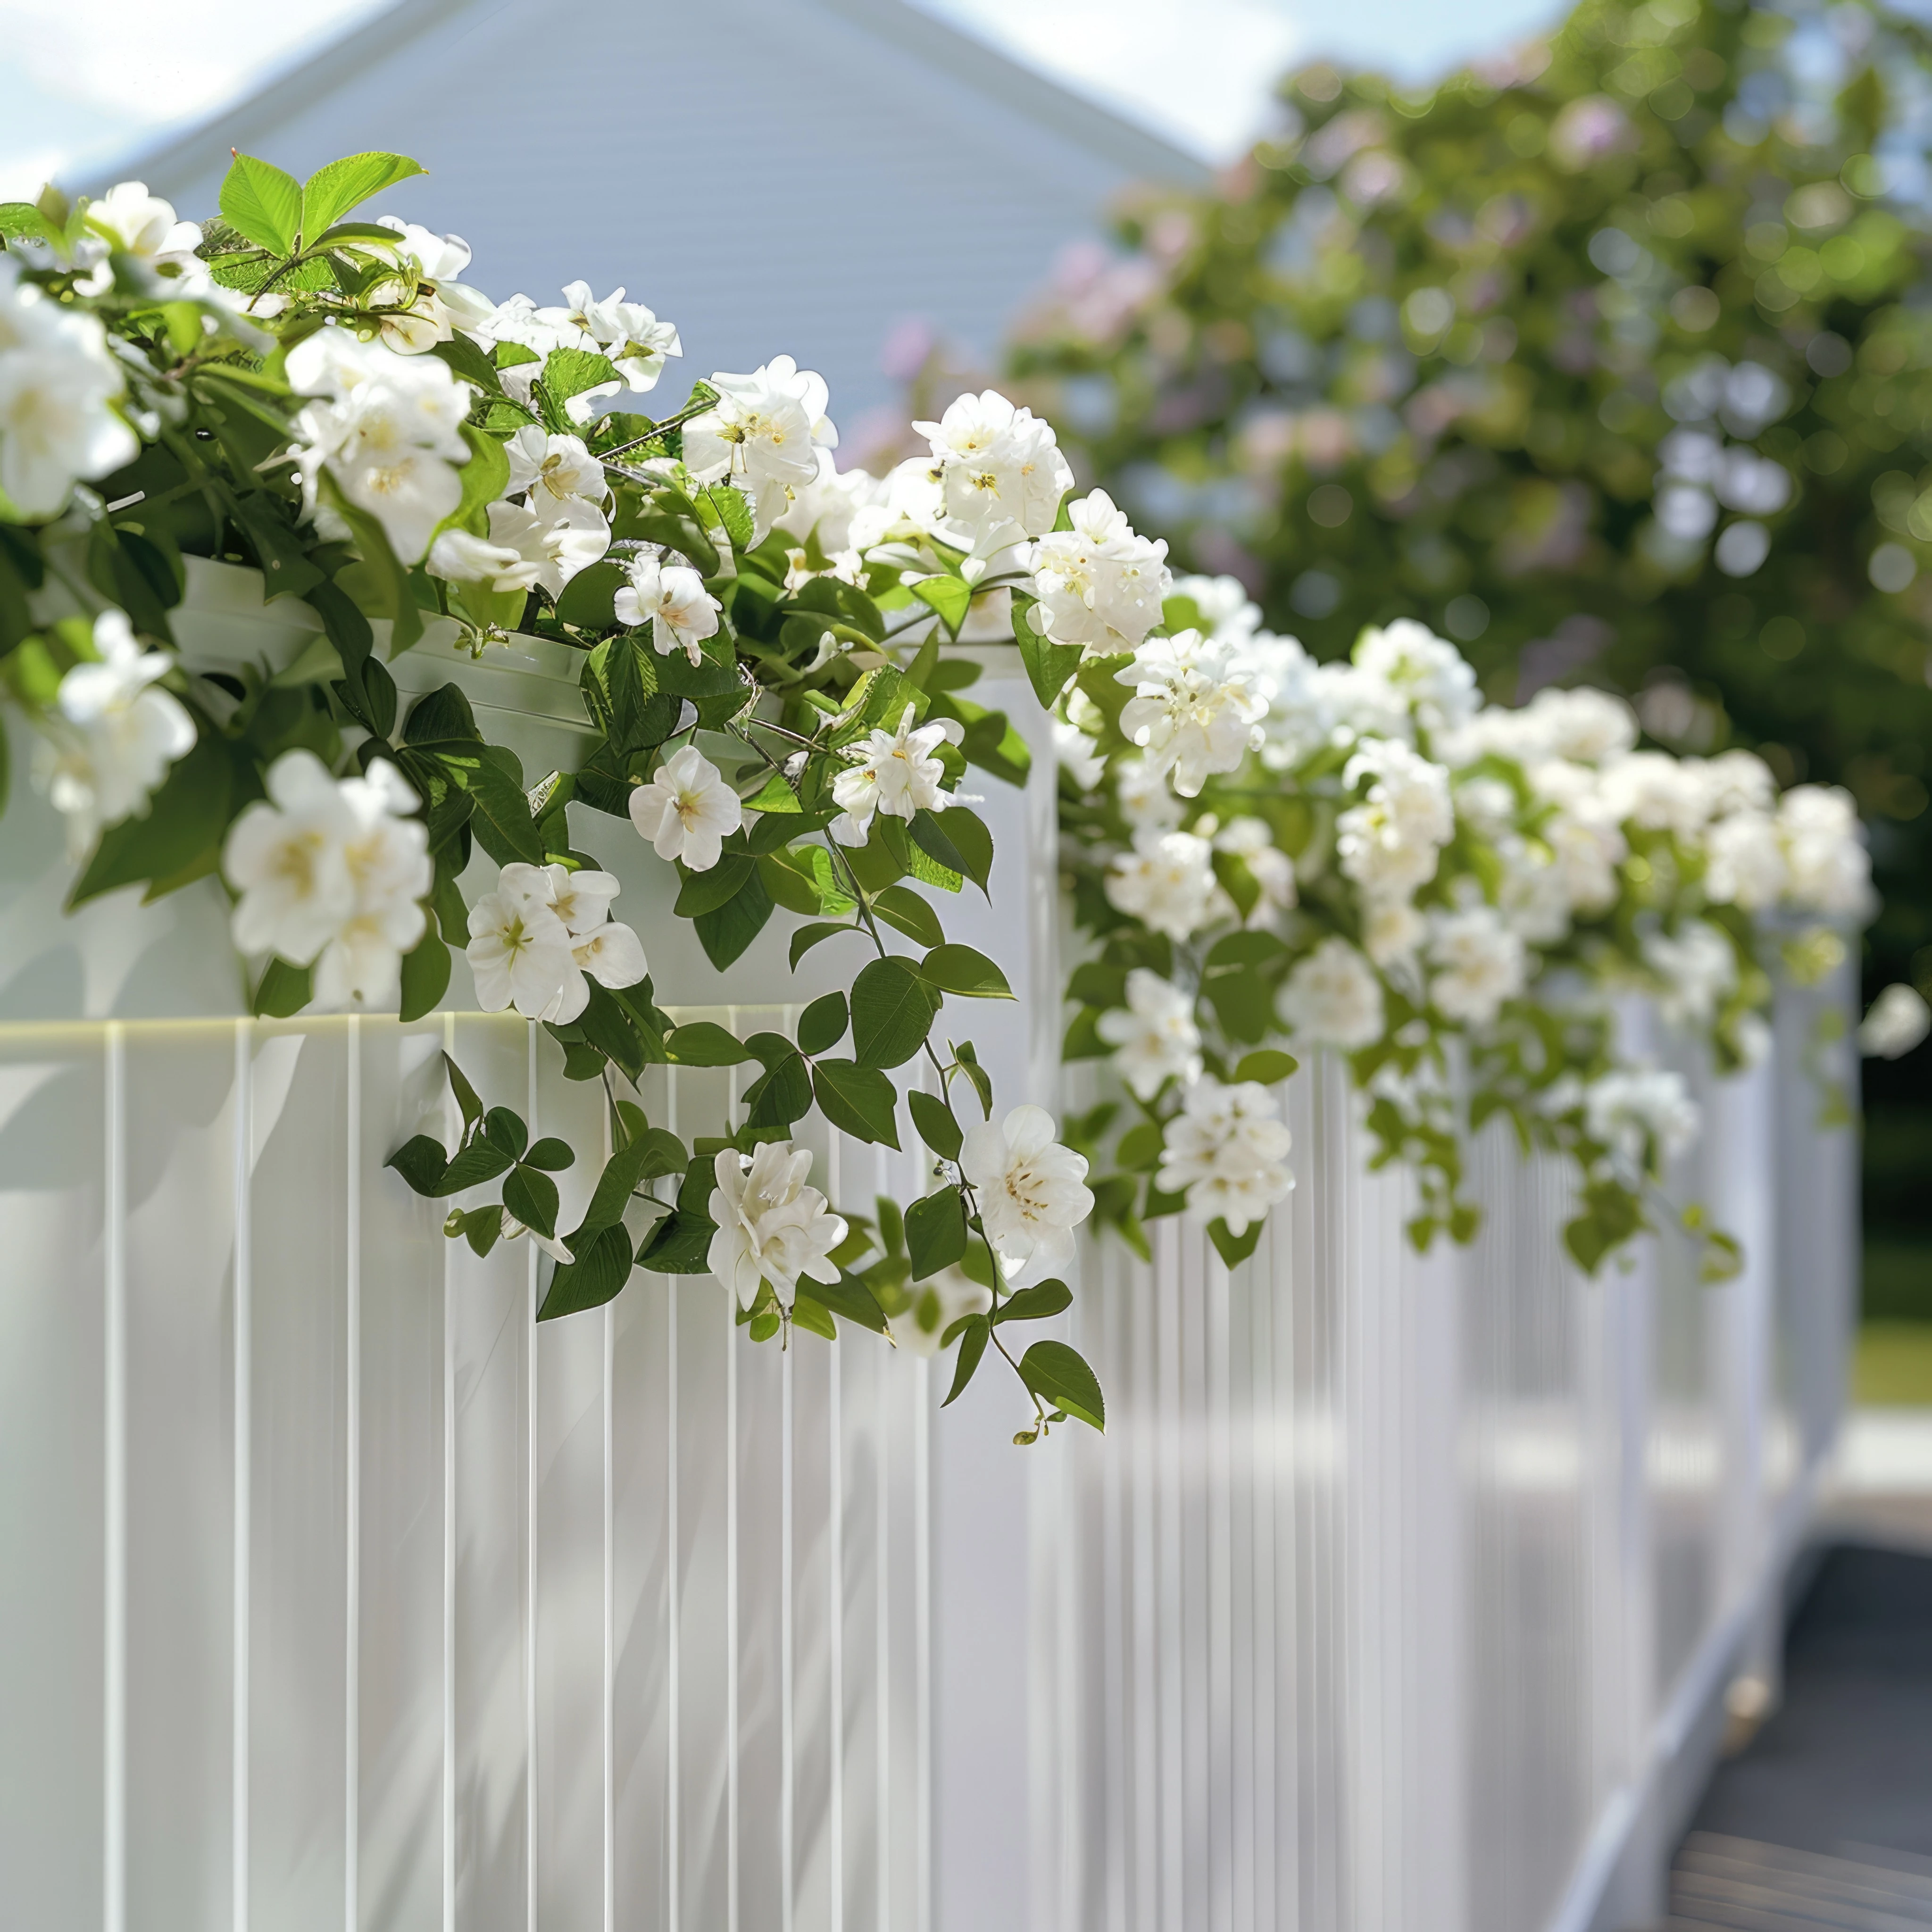
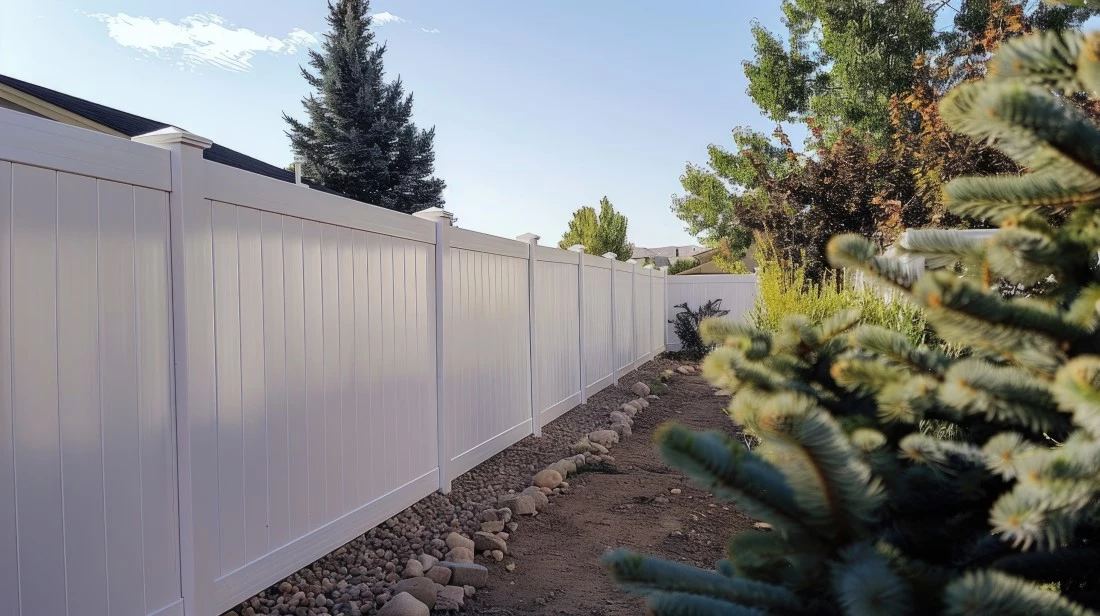
In the realm of DIY projects, few endeavors offer the satisfaction and visual impact of installing your own PVC fence. Whether you're aiming to enhance your home's curb appeal, define property boundaries, or simply add a touch of elegance to your landscape, PVC fencing stands out as a versatile and durable solution perfectly suited for the Australian environment.
Preparation: Laying the Groundwork
Before diving into the installation process, take the time to meticulously plan your project. Start by marking out the fence line with stakes and string, ensuring accuracy and alignment with property boundaries. Consult any relevant local regulations or homeowners' association guidelines regarding fence height and placement.
Next, gather your materials. Opting for PVC fencing offers numerous advantages, including resistance to rot, insects, and harsh weather conditions – ideal for the Australian climate. With PVC panels available in an array of styles and colors, you'll have no trouble finding the perfect fit for your front yard aesthetic.
Tools of the Trade: Equipping Yourself for Success
To execute your PVC fence installation with finesse, arm yourself with the following tools:
- Post hole digger or auger
- Level
- Tape measure
- Hammer
- Concrete mix
- Saw (if customization is required)
- Drill/driver
- Screws or brackets (depending on installation method)
- Safety gear (gloves, eye protection)
- Setting the Stage: Firm Foundations
Begin by digging holes for your fence posts, ensuring a depth of at least one-third the height of the post for stability. Space the holes according to the specifications of your chosen fence style, typically 6 to 8 feet apart.
Once the holes are dug, insert the posts, ensuring they're plumb and level in all directions. For added strength and longevity, fill each hole with concrete mix and allow it to cure according to manufacturer instructions.

Panel Placement: Attaching with Precision
With your posts securely in place, it's time to attach the PVC fence panels. Depending on your chosen style, panels may slide into pre-routed slots in the posts or require brackets for mounting.
Align each panel carefully, ensuring consistent height and spacing between posts. Use a level to confirm horizontal alignment, making adjustments as needed. Secure the panels to the posts using screws or brackets, taking care not to over-tighten and risk damaging the PVC.

Finishing Touches: Polishing Your Presentation
As the final step in your DIY masterpiece, take a moment to admire your handiwork and make any necessary adjustments. Trim any excess length from the fence posts with a saw, ensuring a clean and uniform appearance.
For a truly professional finish, consider adding decorative post caps or trim pieces to enhance the visual appeal of your PVC fence. With a wide range of options available, from classic to contemporary, you can customize your fence to perfectly complement your home's style.
In conclusion, embarking on a DIY PVC fence installation journey is not only achievable but immensely rewarding. With careful planning, the right tools, and a touch of creativity, you can transform your front yard into a showcase of beauty and functionality.


